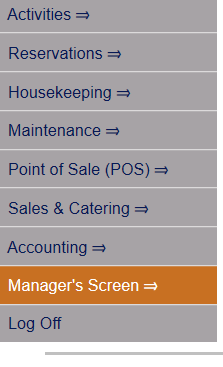
Select Managers Screen => from the Quick Menu on the left side of the screen, then select Configuration > VIP Types.
OR
Click the icon on the left for the Full menu.
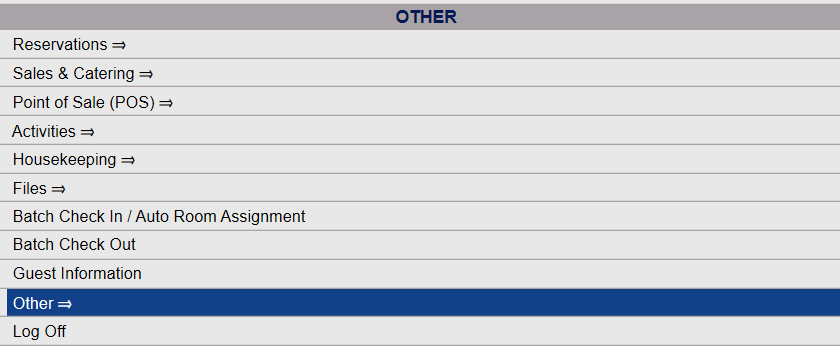
This will display the Full menu in a tabular form, with four sections, Registration, Status, Cashier and Other.
From the Other Section, select Other =>.
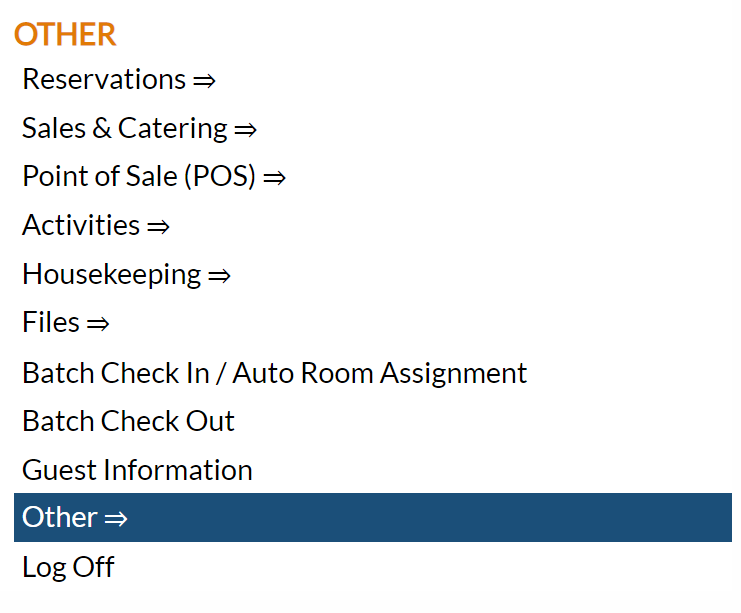
This will display the Other Front Desk Tasks Menu, divided into four sections: Other List 1, Other List 2, Documents and Web.
From the Other List 2 section, select Manager's Screen => to be taken to the Manager's Commands Menu screen.
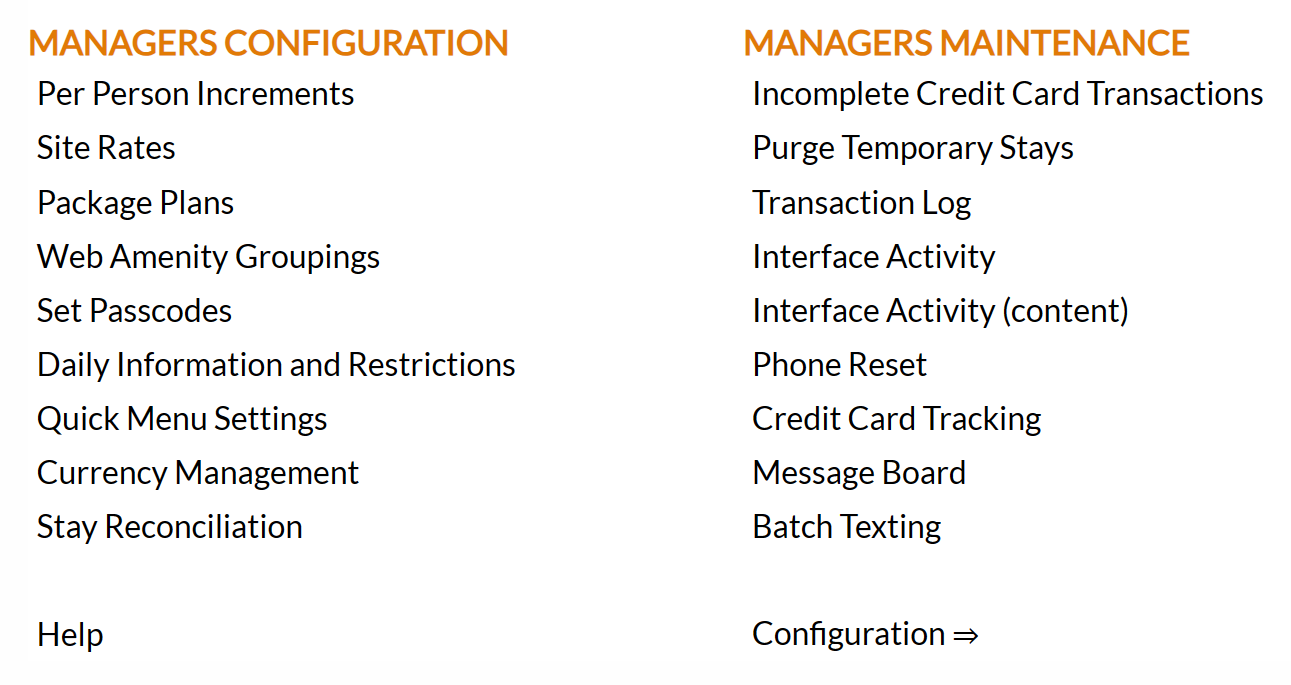
From the Manager's Commands Menu, select Configuration to be taken to the Property and Configuration Menu screen.
Alternately, you may also be able to select Configuration directly from the Quick Menu, if the menu has been set up to include the Configuration option. This will also take you to The Property System Configuration Menu.
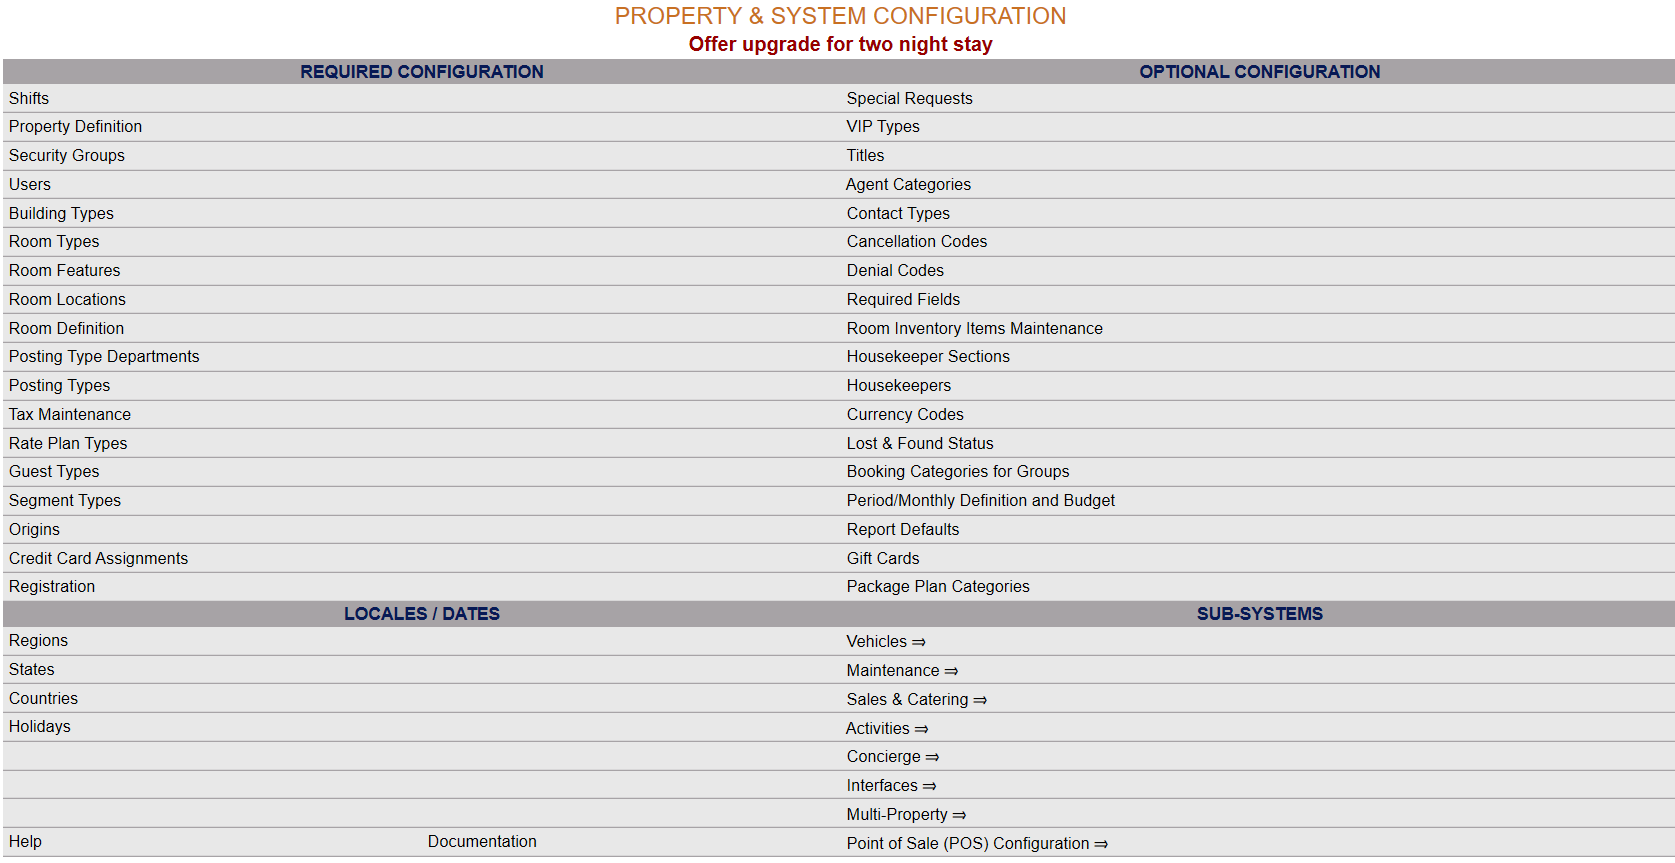
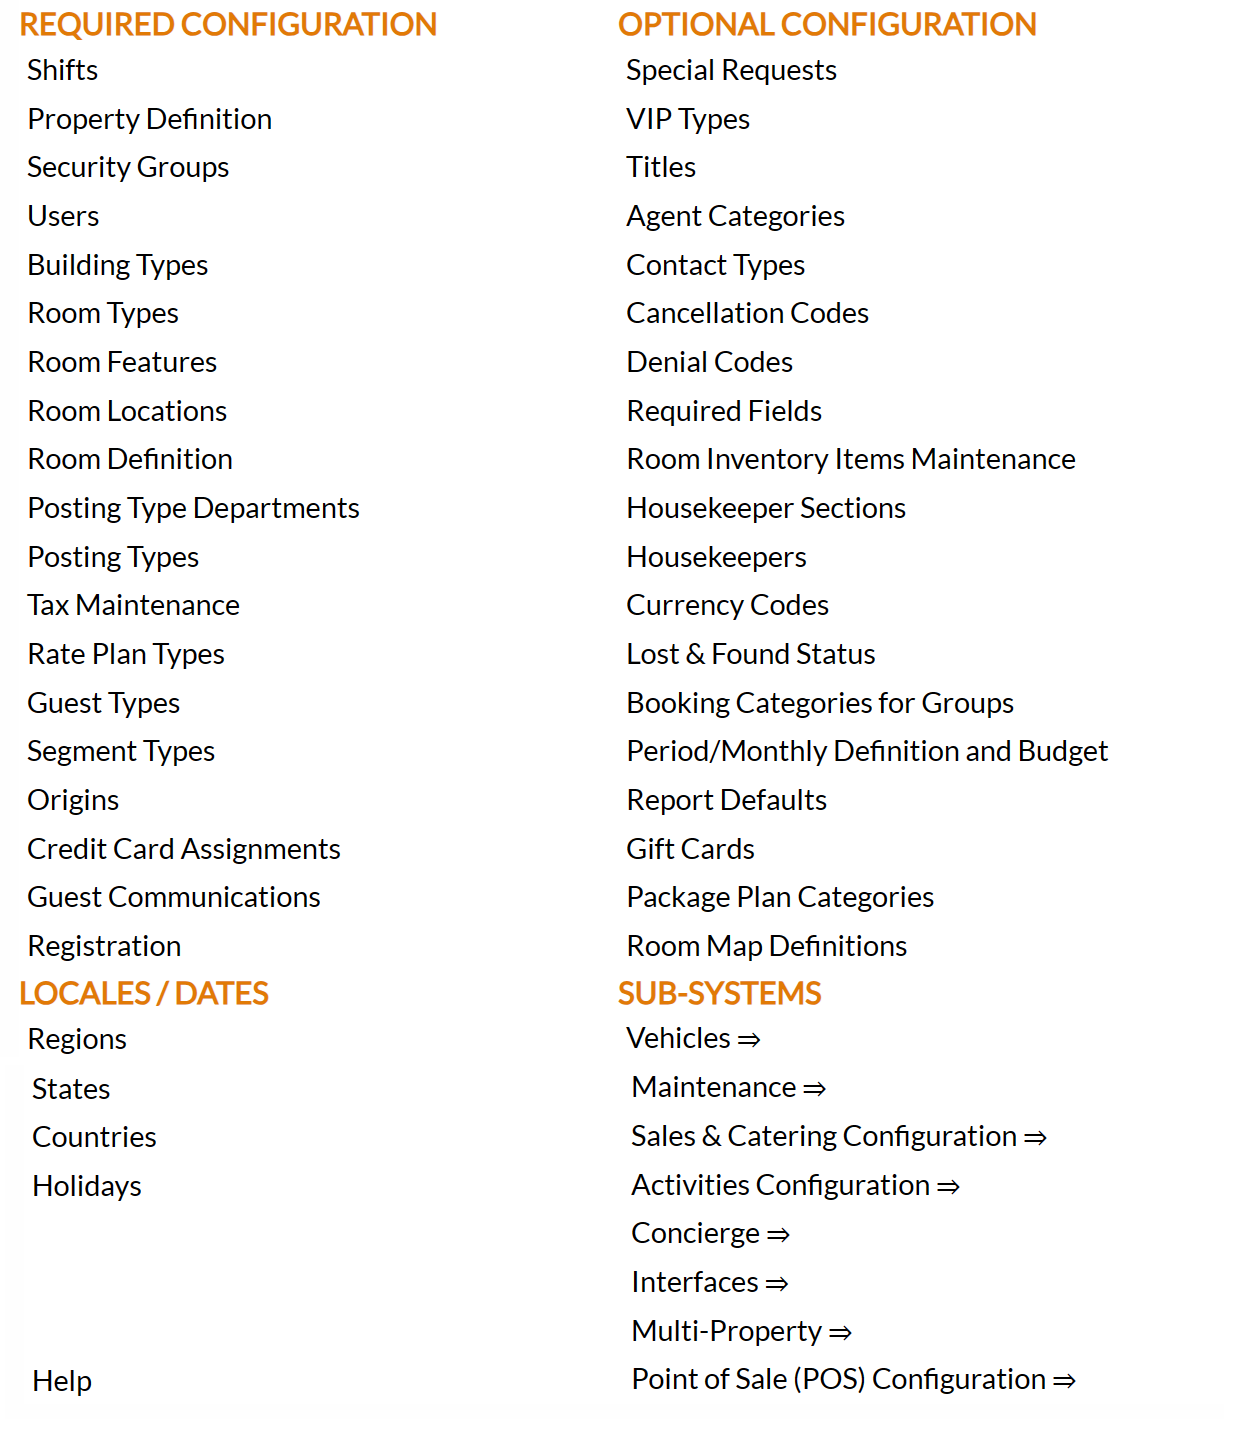
The list of property configuration options are divided into four sections, which are Required Configuration, Optional Configuration, Locales/Dates and Sub-Systems.
Select VIP Types from the Optional Configuration section.
The VIP Types Maintenance screen display is split into two frames, with the left side of the screen listing any already configured VIP Types for the Property and the right side containing the fields you need to complete in order to add or edit a VIP Type for your Property. Any changes made on the right, once saved, will be updated in the listings to the left.
The currently configured options are displayed by:
Order: List Order of the VIP Type. If there is no list order number, the VIP Types will be displayed alphabetically.
Code: The Code name of the VIP Type or how you wish to refer to it.
Name: The description of the VIP Type.
Selecting any VIP Type on the left will display the details on the right.
Your options include the following:
Generate a new entry:
Click the New ![]() button from the toolbar to add a new VIP Type.
button from the toolbar to add a new VIP Type.
Complete the fields described below.
OR:
Select an existing VIP Type from the list on the left, and click the Replicate ![]() button from the toolbar. Then change the field information as described below.
button from the toolbar. Then change the field information as described below.
Edit the current selection:
Change the field information described below.
VIP Code: Enter the code for the VIP Type. This is the short form of how it will display for use by your staff.
This field is required.
List Order: Enter the desired List Order for this VIP Type. If there is no list order number, the VIP Type will be displayed alphabetically.
This field is optional.
VIP Name: This is the name or the description of the VIP Type. You should enter the full description of the VIP Type here.
This field is required.
Restrict edit to break point "Allow VIP Edit": This option, when the VIP Type is selected on a reservation, ensures that the reservation will be unable to be adjusted by the general staff. They will only be able to check-in and check-out this stay (rather than, for example, change the dates or room assigned to it). This box may be checked or unchecked. Check this box if you wish to have the VIP Type option restrict your general staff's ability to alter a reservation.
Note: Once it has been selected on the reservation, they will also be unable to change the VIP Type status. This ensures that the VIP Type selected cannot simply be altered to a different one to allow the changing of the reservation.
Not Active?: This box may be checked or unchecked. Click this option to deactivate the VIP Type without deleting it. If this box is checked, the VIP Type is not available currently and will not be offered for selection when a reservation is made. Once a VIP Type has any stays associated with it, it cannot be deleted from the system.
When you are finished adding or editing any VIP Type, click the Save ![]() button to save the changes.
button to save the changes.
To view any changes made, click the Activity log ![]() button in the local tool bar.
button in the local tool bar.
